Lesson 14- IR Receiver Module

The materials we used: 1 elegoo Uno R3, IR receiver module, IR remote, 53f-m DuPont wires.

The uno is connected with the Ir receiver module with the help of 3 f-m dupont wires. there are 3 connections to the IR receiver. the connections are Signal, voltage and ground.

with the original code, we could display the following results with IR remote.
Later, we changed some of the code and displayed the following result. we found out that the remote should be pointed to the IR receiver otherwise it would display “other button” or nothing at all.

Lesson 12- DHT11 Temperature and humidity sensor.

The materials we used: 1 elegoo uno R3, 1 DHT11 temperature and humidity module and 3 f-m dupont wires.

The uno is connected with the DHT11 temperature and humidity module with the help of 3 f-m dupont wires. for the connections, voltage, ground and signal; these can be connected to any pin of the uno.
with the given code the temperature and humidity was tested in every 5000 ms.
when you covered up the module, there was a change in temperature as well as in humidity.

Lesson 18- Water Level detection Sensor Module

The materials we used: 1 elegoo uno R3, 3 f-m dupont wires and 1 water level detection sensor module.

the uno is connected to the water level sensor module with the help of f-m dupont wires. power supply is connected to 5V of uno, ground electrode is connected to GND, signal output is connected to the ports AO.
we used the wet tissue for the moister, and tested the sensor with it.
with the original code we tested the moister, and serial monitor shows the moister. And with the applied pressure the moister level was higher.

Lesson 17 – HC-SR501 PIR Sensor

The materials we used: 1 elegoo uno R3, HC-SR501 PIR motion sensor and 3 f-m dupont wires.

The uno is connected with the HC-SR501 with the help of f-m dupont wires. We connect the PIR to 5V and ground to ground. then connect the output in digital pin.
for the experiment we added a Led. with the motion the led was on.
the original code which shows the led was connected to the port 13.

Lesson 16 GY-521 Module

We used one Elegoo Uno R3, one GY-521 module and 4 F-M wires, then we finished the following connection:

For this connect the pin labelled as SDA on the GY-521 to the Drduino’s pin 4 (SDA). And the pin labelled as SCL on the GY-521 to the Arduino’s analog pin 5(SCL). And that’s it.
result from the original code.
Original delay was 333, and we changed it to 1000.

Lesson 15 – Max7219 Led Dot Matrix Module

The materials used: 1 elegoo UNO R3, max7219 matrix module and 5 f-m dupont wires.

The uno is connected to the max7219 matrix module with the help of 5 f-m wires.
VCC and ground are connecte to arduino. pin 12 is connected to DIN, PIn 11 is connected to CS and pin 10 is connected to CLK.

the original code which displayed the word “arduino”.


We change the code, and displayed the word “Moi”.
the original delays between blinks.
and we change the delays as well between the blinks.
The combined picture of “Moi”.
we figured out the letter with the help of paint.

Lesson 11- Membrane switch module

The materials we used: 1 elegoo Uno R3, 1 membrane switch module and 8 m-m wires.

here, the uno is connected to the membrane switch module with the help of 8 m-m wires. when connecting to the uno board, we connect them to the digital output pins, D9-D2. we connect the first pin of the keypad to D9, the second pin to D8, the third pin to D7, the fourth pin to D6, the fifth pin to D5, The sixth pin to D4, the seventh pin to D3, and the eighth pin to D2.


these are the original codes.
we changed all the keys and wrote a little message to you.

Lesson 10- Ultrasonic sensor module

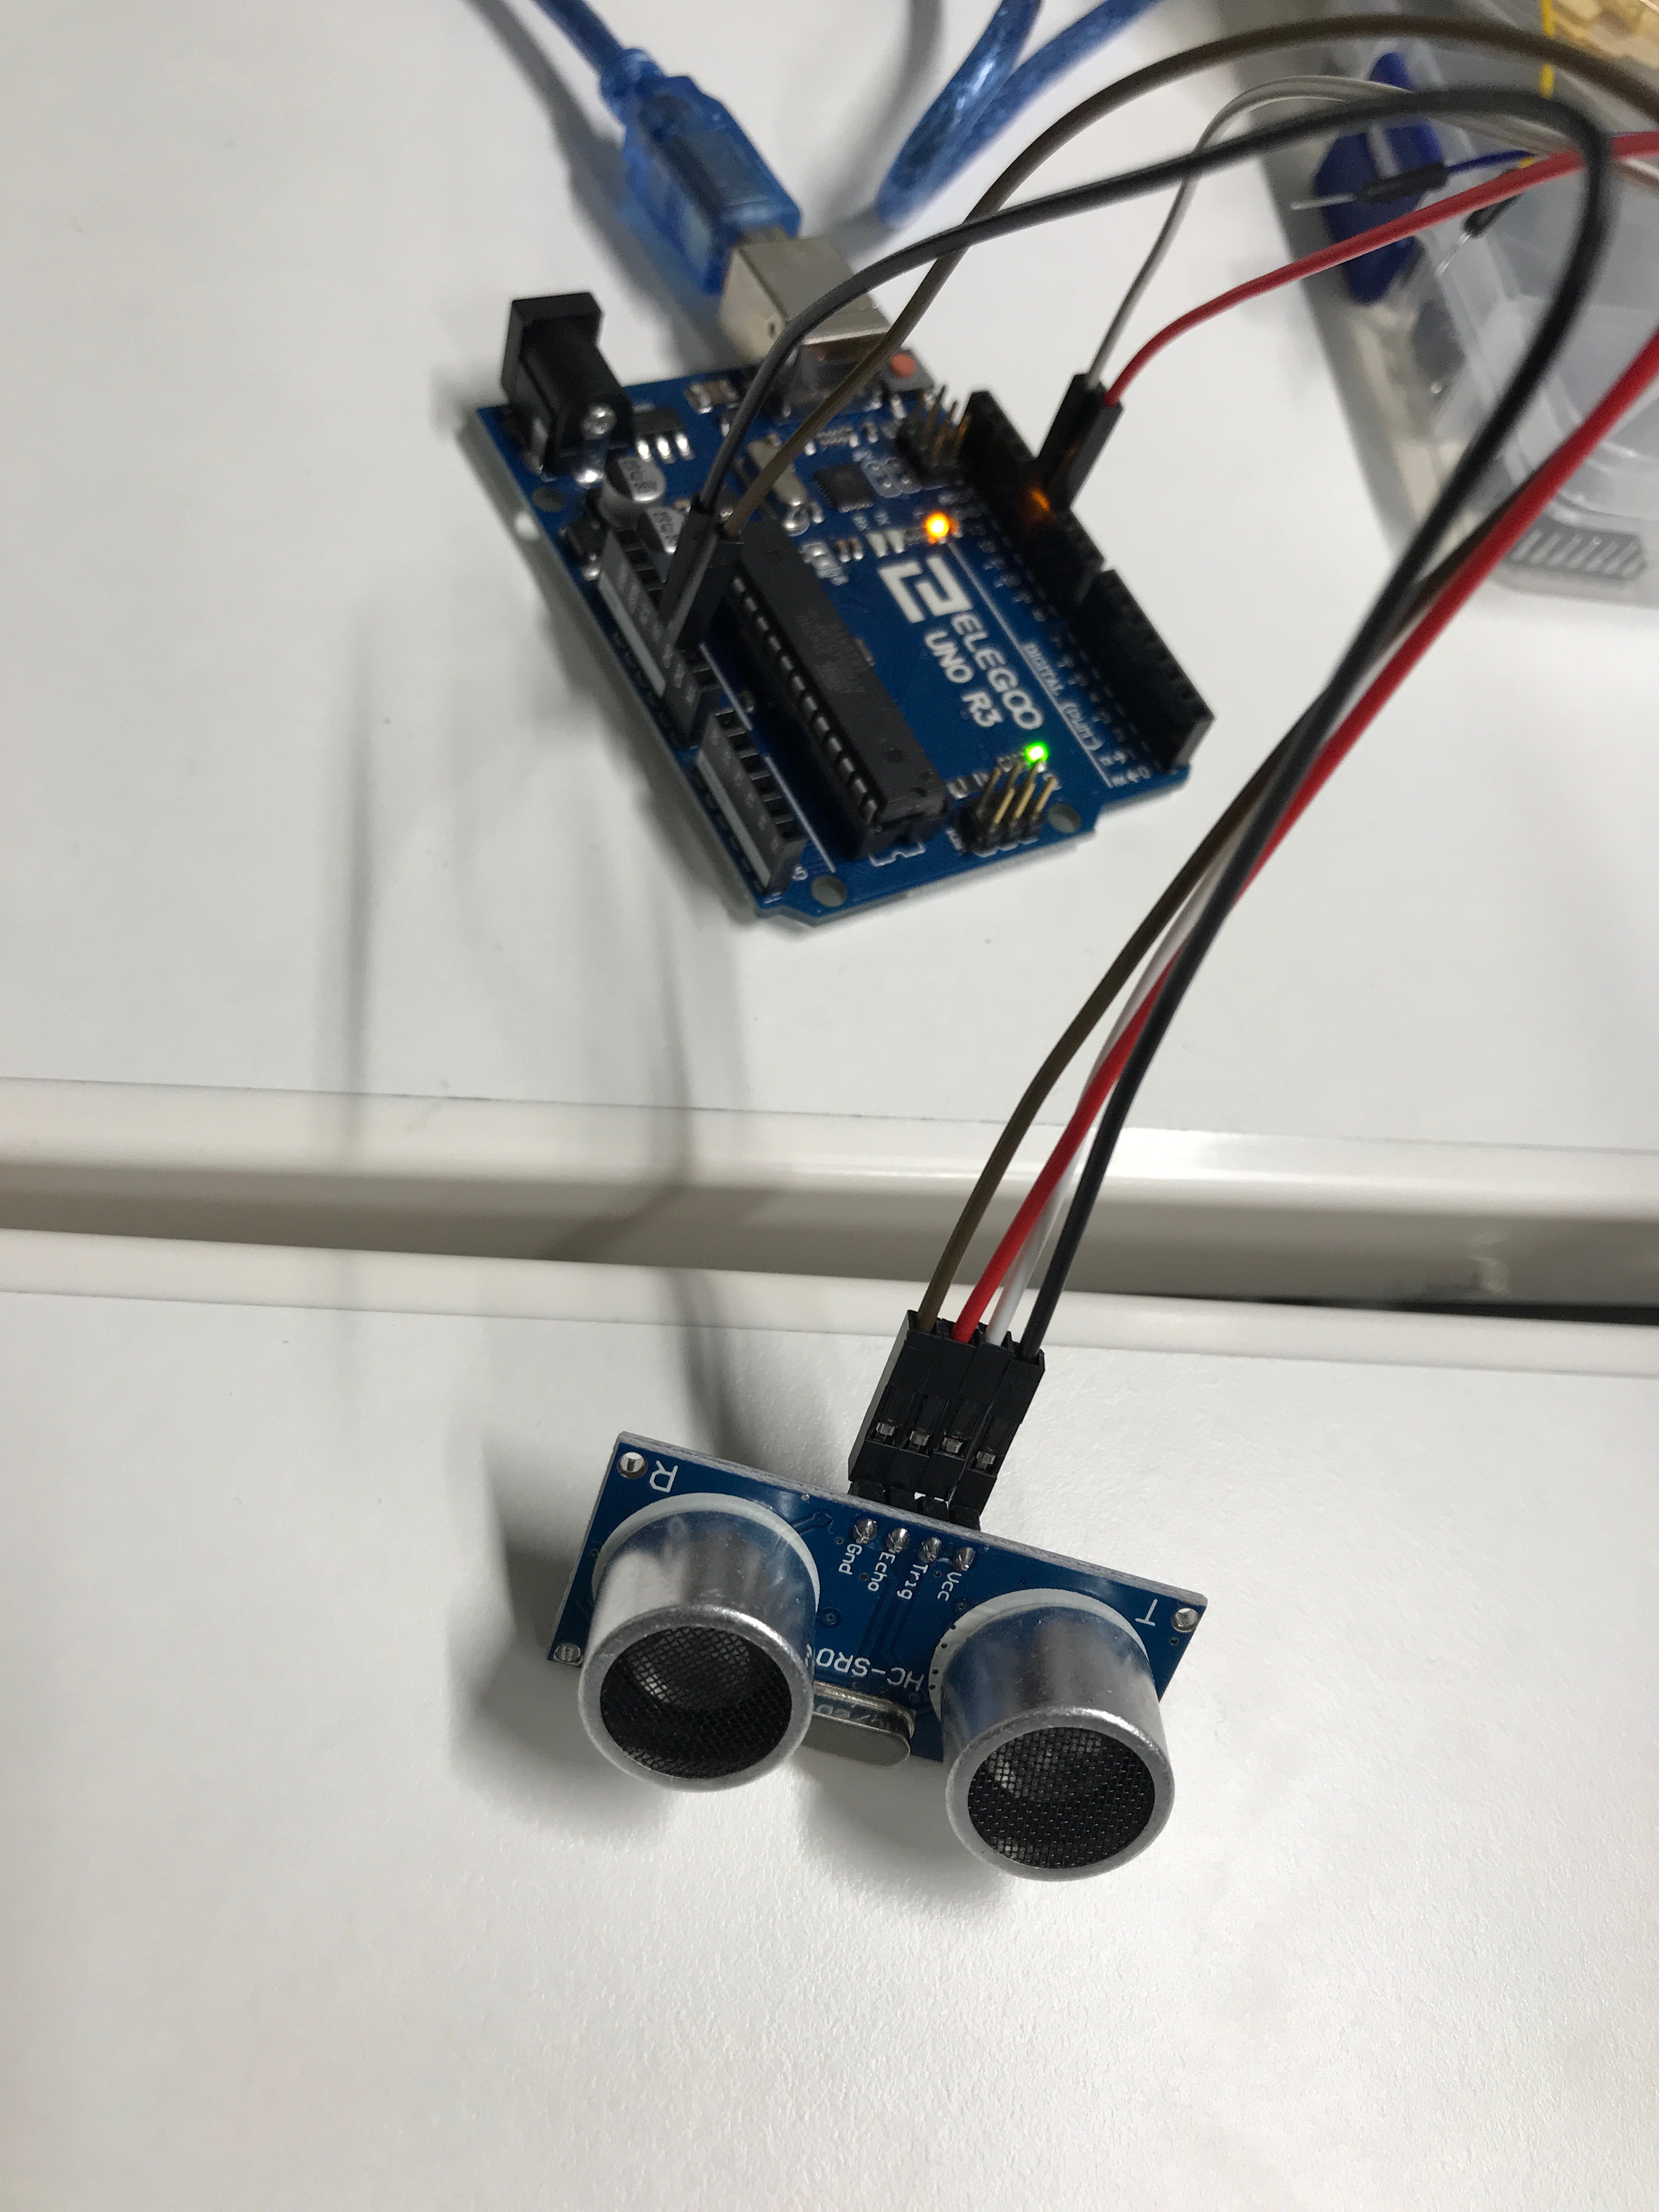
The materials we used: 1 uno R3, ultrasonic sensor module and 4 f-m wires.

Here, the uno R3 is connected to the ultrasonic sensor module with the help of 4 f-m DuPont wires. The GND port of sensor module is connected to the GND port of the uno, the echo is connected to the D11 pwm, the trig is connected to the D12 MISO, and the vcc is connected to the 5V port.
the original codes the distance in every one second.
with the change of the time with delay in 2 seconds, it calculates the distance in every 2 seconds.

Lesson 9- Servo

The materials we used: 1 Uno R3, servo motor and 3 m – m wires.

we connected the servo motor to the uno with the m-m wires. the brown wire is connected to the GND port, the orange wire is connected to the 5V port and the yellow wire of servo motor is connected to the 9 port.
the initial degree was 1 degree so we change to 5 degree at a time and the motor was moving faster.
The change is now 3 degree in 30 milliseconds, and the motor movement was slower.